Getting Started With SMTasker: The Complete Roadmap
Welcome to SMTasker! You are just a few steps away from turning your Android phone into a powerful, 24/7 social media manager. Whether you want to auto-post content, grow your followers, or automate your engagement (Likes, DMs, and more), this guide will show you the right way to set everything up.
Your Automation Journey
Follow these 8 steps to move from a fresh account to a fully automated growth machine.
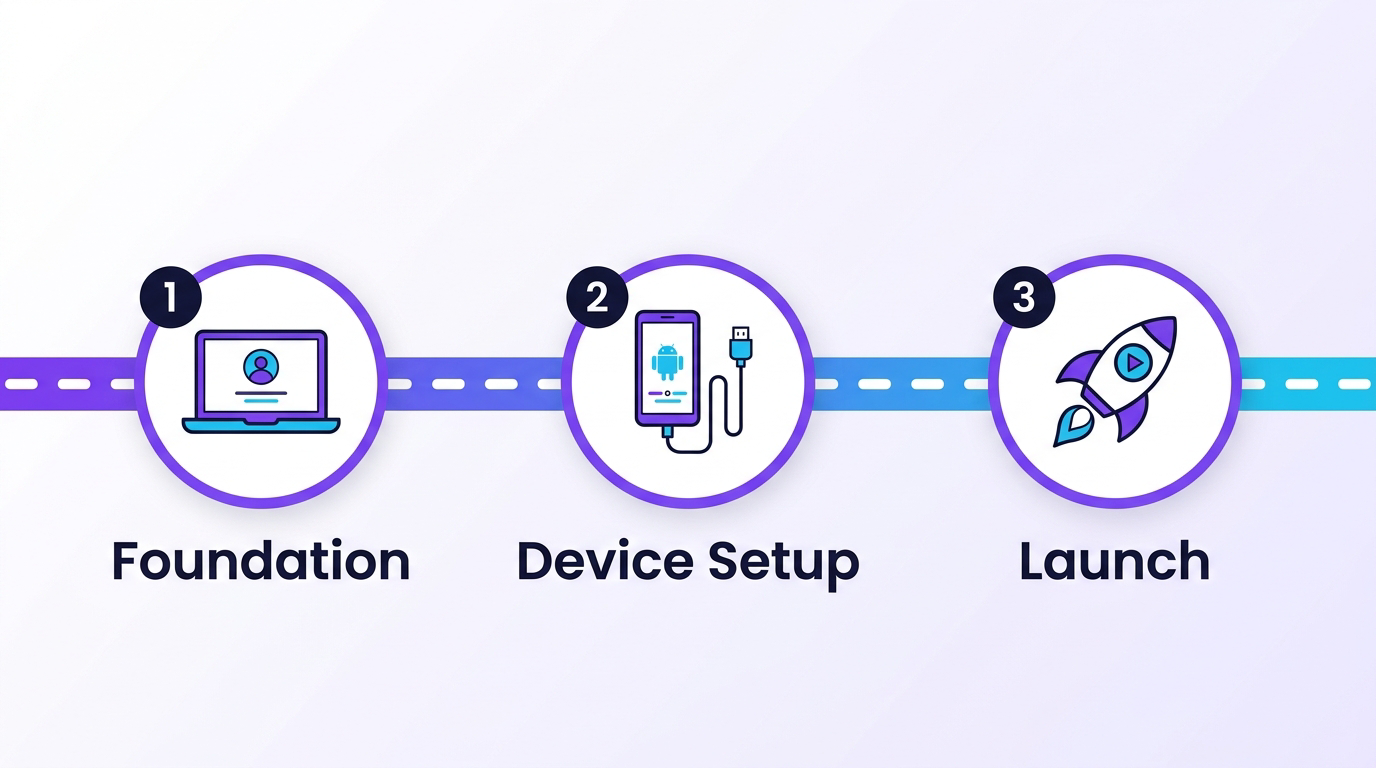
The journey at a glance: build the foundation, set up your device, then launch your first automation.
Before you dive in, here is the dashboard you are working toward. The numbered items map to the phases below: 1 — Devices (connect your phone), 2 — Accounts (add your social accounts), and 3 — Automations (pick a tool and press Start).
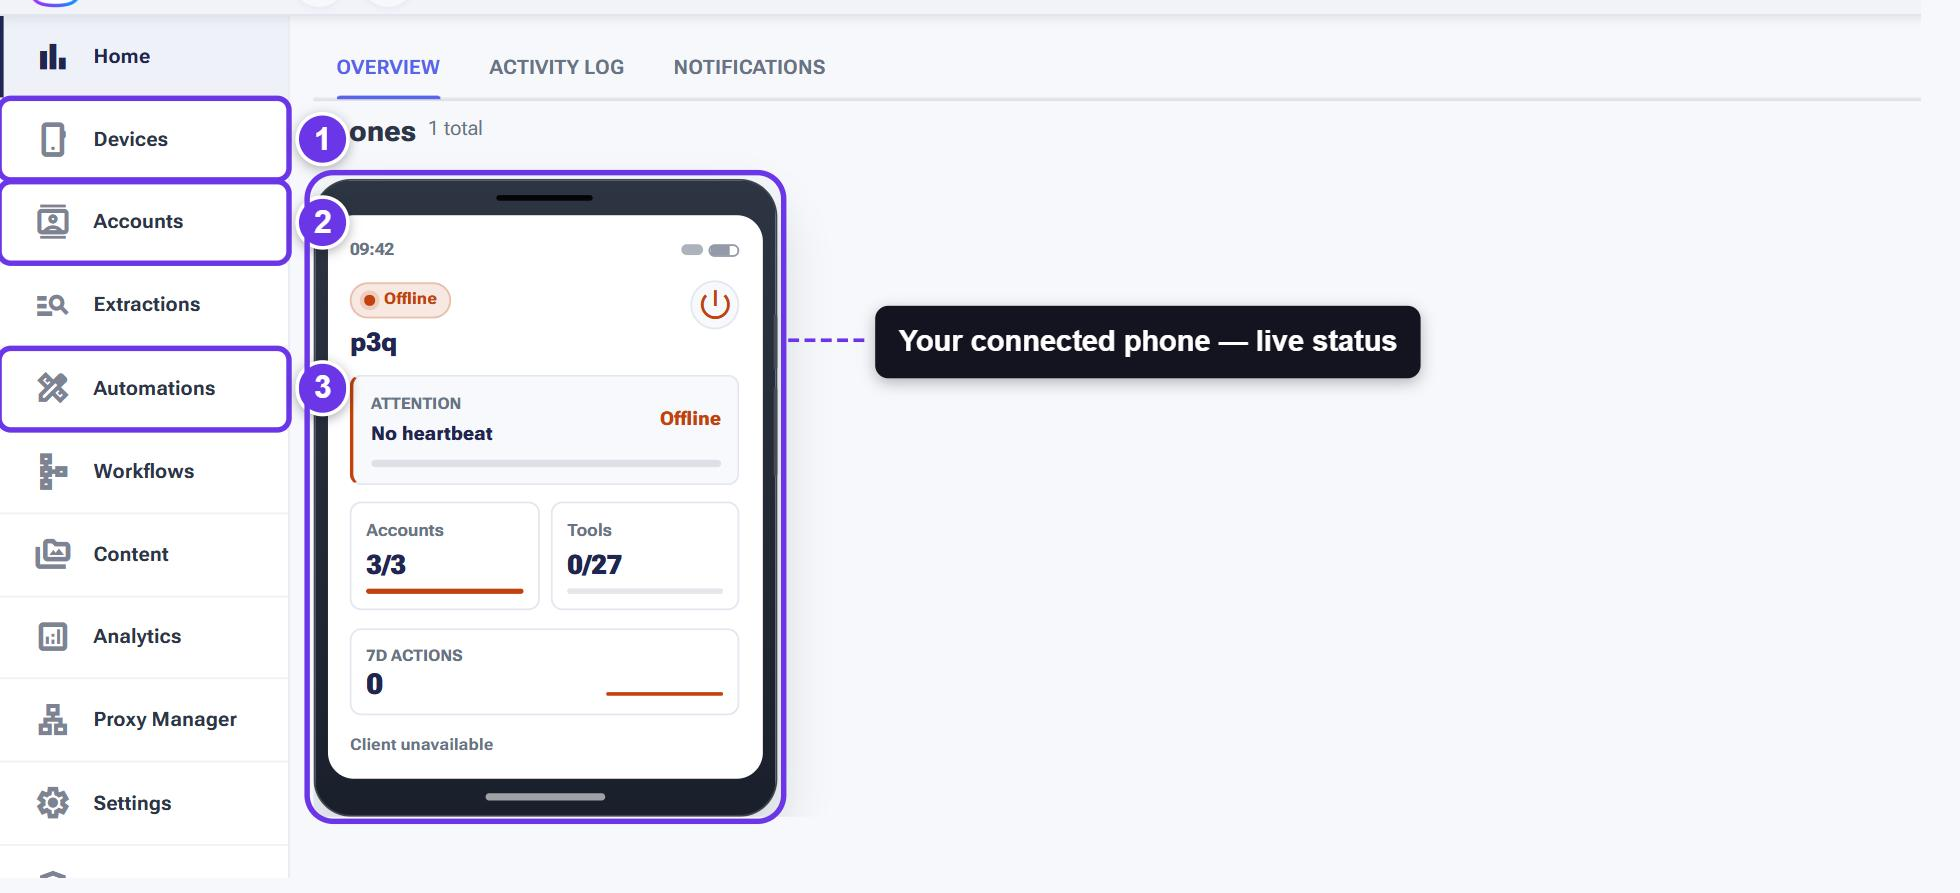
The SMTasker dashboard. Every phone you connect gets its own live status card showing accounts, active tools, and recent actions.
Phase 1: The Core Foundation
1. How SMTasker Works (In 60 Seconds)⏱️
Understand the “Phone-to-Cloud” architecture that allows you to run safe, professional-grade automation directly through a physical device.
2. Create Your SMTasker Account
The first step to accessing your cloud dashboard and managing your automation tools.
3. Download and Install the Local Client
Install the lightweight bridge software that connects your computer and phones to our secure servers.
Phase 2: Device & Hardware Setup
4. Get Your Android Phone Ready
Prepare your hardware by enabling Developer Options—this is what allows the software to perform human-like actions on your behalf.
5. Plug in Your Phone and Confirm Connection
The moment of truth! Connect your phone via USB and verify that it is visible and ready for commands in the dashboard.
Phase 3: Launching Your Automation
6. Run Your First Phone Automated Actions
Learn how to set up engagement automation. This guide covers how to start automating Likes, Follows, DMs, and more to grow your account organically.
7. Run Your First Automated Posting Campaign
Complete your setup by automating your content. Learn how to upload media and schedule automatic posts and stories effortlessly.
Ongoing Support
8. How to Get Support for SMTasker
We are here to help! If you run into any issues with your setup or tools, this guide shows you the fastest way to get a reply from our team.
Ready to scale your social media?
Begin with Step 1: How SMTasker Works